

Uncategorized
Off Road Tire Inflation Guide for Real Terrain
Sep
A tire that rides well at highway pressure can turn a rough access road into a punishing ride, lose traction in sand, and skip across loose rock. Drop pressure too far, though, and the same tire can unseat from the rim, pinch the sidewall, or build damaging heat before you reach pavement. This off road tire inflation guide is built for the practical question: how low can you go for the ground you are actually crossing, then how soon should you air back up?
There is no single trail pressure that works for every truck, UTV, military vehicle, farm rig, or equipment trailer. Tire construction, vehicle weight, wheel width, load, terrain, speed, and whether the wheel has beadlocks all change the answer. Start with the manufacturer’s road-pressure recommendation, reduce pressure in controlled steps, and inspect the tire as conditions change.
Why Lower Pressure Works Off Road
A properly aired-down tire creates a longer, wider contact patch. That larger footprint lets the tread conform to rock, roots, ruts, and uneven ground rather than bouncing over it. On sand, it helps the vehicle float instead of digging holes. On washboard roads, it reduces harshness and vibration through the vehicle.
The trade-off is sidewall stability. Lower pressure allows more flex, which is useful at low speed but creates heat when the tire turns at road speed. It also leaves the rim closer to the ground and increases the chance of a sidewall pinch or a bead failure during a hard turn. Airing down is a traction tool, not a replacement for selecting the right load range, tread pattern, or tire size.
For commercial and working equipment, lower pressure can also reduce ground disturbance. That matters on soft fields, seasonal roads, and job sites. But heavily loaded trucks, trailers, and agricultural equipment have less room for pressure reduction than an unloaded recreational 4×4. The load table and application rating still control.
Off Road Tire Inflation Guide: Start With the Tire and Load
Before choosing a trail pressure, read the tire sidewall and know what is on the vehicle. A light-truck all-terrain tire, a bias-ply military tire, a radial commercial tire, and an agricultural flotation tire do not react the same way. Bias-ply tires generally have stiffer sidewalls and may tolerate rough-duty use differently than radials, while a heavy commercial casing may carry substantial load but require more pressure to protect the tire and wheel.
Check the tire’s load range, maximum load, maximum cold inflation rating, size, and age. A used takeoff or surplus tire may still have usable tread but should be inspected for cracking, repairs, exposed cords, bead damage, and uneven wear before it is put into off-road service. Condition matters as much as the pressure number.
Vehicle loading is the next factor. A pickup carrying tools, fuel, recovery gear, and a loaded bed needs more pressure than the same pickup running empty. The rear axle often carries the larger share of the working load, so front and rear pressures do not always need to match. A loaded service truck or military cargo vehicle may need only a modest reduction from road pressure, especially if it will travel long distances on gravel.
Practical Pressure Ranges by Terrain
These ranges are starting points for low-speed use, not universal prescriptions. Make changes a few PSI at a time and watch how the tire responds.
For graded dirt roads and light gravel, a small drop from normal road pressure is often enough. Many pickup and SUV drivers reduce pressure by roughly 5 to 10 PSI for ride quality and grip while retaining sidewall support. If sharp rock is common, do not chase a soft ride at the expense of puncture resistance.
On rocky trails, moderate airing down helps the tire wrap around obstacles and reduces wheel spin. A typical non-beadlock light truck setup may operate around the high teens to mid-20s PSI, depending on tire size, load, and sidewall construction. Heavier vehicles and narrower tires generally need more support. Crawl slowly, avoid spinning the tire against rocks, and inspect the sidewalls often.
Sand usually calls for a larger footprint. Light vehicles with suitable tires may run in the low-to-mid teens, while some setups go lower when equipped with beadlocks and operated carefully. The goal is to float on top of the surface. Momentum should be smooth and controlled. Sharp steering inputs, sudden braking, and fast turns are more likely to roll a tire off a standard wheel at very low pressure.
Mud is less predictable. A slight reduction can help the tread clear and conform, but dropping pressure too far may let the vehicle settle into deep ruts or pack mud around the tire. Tread design, vehicle weight, and the firmness below the mud usually matter more than simply running the lowest possible pressure.
For snow, moderate pressure reduction can improve footprint and control. Wet snow over rocks is a different problem than deep powder, so inspect frequently and avoid low pressures that expose the wheel to hidden obstacles.
Know When You Are Too Low
The tire will tell you when the pressure is no longer supporting the job. Excessive sidewall bulge, vague steering, a tire that folds under in turns, or a rim that contacts rocks are clear warning signs. Stop and add air before damage becomes permanent.
Watch the bead area after a hard impact or sharp turn. Dirt or moisture around the bead can make reseating more difficult, especially in remote conditions. A tire that has repeatedly run flat or nearly flat may have internal damage even if it holds air afterward.
Speed changes the equation quickly. A pressure that works at 5 mph on a rocky trail may be unsafe at 35 mph on a forest road. The faster the tire rotates, the more heat is generated through sidewall flex. If your route changes from technical terrain to a long gravel haul, add air before increasing speed.
Use the Right Equipment, Not Guesswork
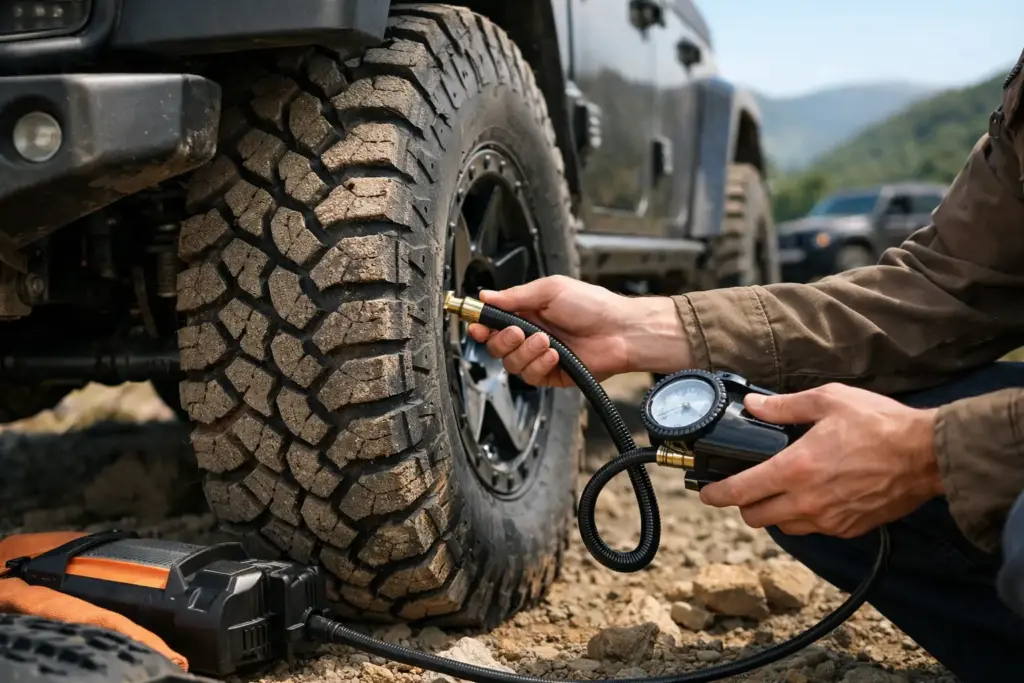
A reliable gauge and an air source are basic trail equipment. Vehicle dash systems and casual thumb-pressure checks are not accurate enough for managing off-road pressures. Carry gear that can operate in the conditions you work in:
- A quality low-pressure gauge that reads accurately in the range you use
- A portable compressor with enough duty cycle for large truck or commercial tires
- Valve core tools and spare valve cores
- A tire repair kit, recovery equipment, and a full-size spare when the application allows
For fleets and job-site equipment, standardize the process. Record normal road pressure, typical unloaded trail pressure, loaded trail pressure, and reinflation requirements for each vehicle class. That reduces guesswork between operators and makes it easier to identify recurring tire damage caused by route conditions or loading practices.
Beadlocks, Wheel Width, and Specialty Tires
Beadlock wheels can provide more retention at lower pressures, but they are not permission to ignore load, speed, or tire condition. Hardware must be correctly installed and maintained, and legal road-use requirements vary by location. Standard wheels can perform well off road when pressure is kept within a sensible range and the driver avoids aggressive side-loading.
Wheel width matters too. A tire mounted on a wheel at the edge of its approved width range may behave differently when aired down. Match tire size and wheel width correctly before using very low pressures. This is especially relevant with surplus wheels, military takeoffs, and specialty tire assemblies, where fitment should be verified before purchase and installation.
Large military, industrial, OTR, and agricultural tires deserve extra caution. Their mass, casing construction, and inflation volume create serious service hazards. Follow the tire manufacturer’s inflation procedures, use proper restraint equipment where required, and do not attempt field repairs beyond your training or equipment capacity.
Air Back Up Before the Road Home
Reinflate before sustained pavement travel. Do not assume the tire will be fine because it survived the trail. Check all four tires or every tire position on multi-axle equipment, including the spare if it was used. Look for cuts, embedded debris, missing valve caps, wheel damage, and signs that a bead has shifted.
The right pressure is the one that protects the casing and wheel while giving the vehicle enough footprint for the terrain and load. Start conservatively, make small adjustments, and treat every new route, payload, and tire setup as its own job. A few minutes with a gauge can save a tire, a wheel, and a long recovery.
